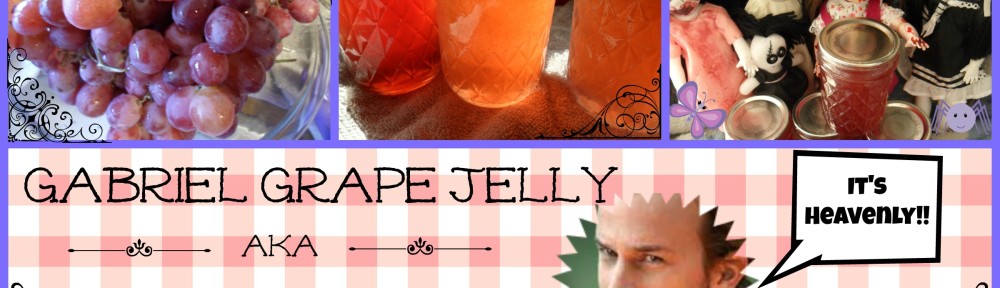

Look at that man! See the happiness on his face? “Why is he so happy?” you ponder, “Is he back in Casa Erotica?” I wish! Who wouldn’t want that? I’d like to think that Gabriel is happy because he now has a jelly named after him. I mean, who wouldn’t be?? It’s sweet, sweet reward for just being so darn awesome!! Yes, I was successful at making grape jelly on the second attempt.
 What is the sound of success? For me, it used to be the ever recognizable “PING” of a jar sealing. But as we learned in part 1, that is not the only thing that makes a canning session successful. But then we learned that even though things look like they will be a disaster – that is not always the case. You just might end up with something expectantly yummy! So, what does success look like? It looks like a job well done, regardless of what you end up is not what you started out to make. Or maybe it’s the PING!

SCIENCE!
This is the way it is when you attempt to create ANYTHING! Let alone jams and jellies. Chemical reactions make almost everything possible. From reactions in the body that make things like typing this post possible, from yeast reactions in bread to pectin in jelly – sometimes they can be fickle things and not turn out the way you want. But when something doesn’t work out quite like you want, you can’t let it get you down – jump right back on that canner and try try again! Ok, don’t physically jump up on your canner – it’s hot and you are likely to hurt yourself!
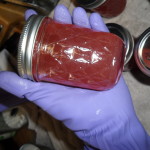
So, that is what I did – again – (Remember – DO NOT JUMP ON YOUR CANNER!) But I gave the grape jelly another try! This time, adhering to the 1 minute rule with a timer! Success! I now have 16 jars of grape jelly!
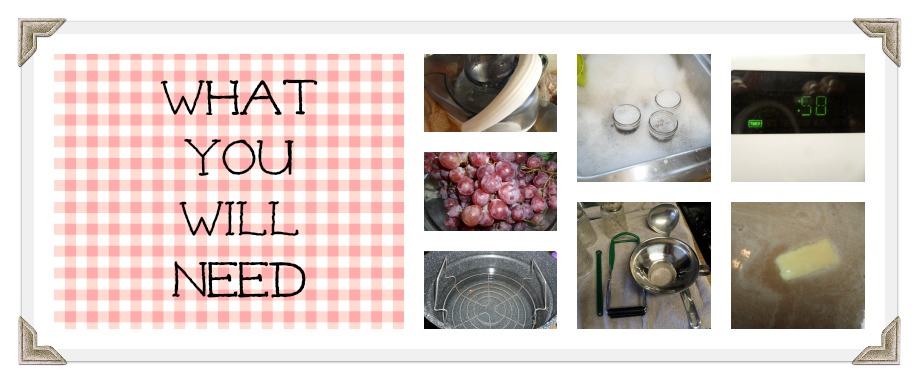
This will make around 8 or 9 half pints.

Not this Juice!
5 cups grape juice
6 ½ cups sugar
Splash or two of lemon juice
I box pectin ½ T butter
I did not have concord grapes – so I used Red Globe grapes – I found then for a dollar a pound at the farmer’s market! (Score!)
Let’s make some juice!
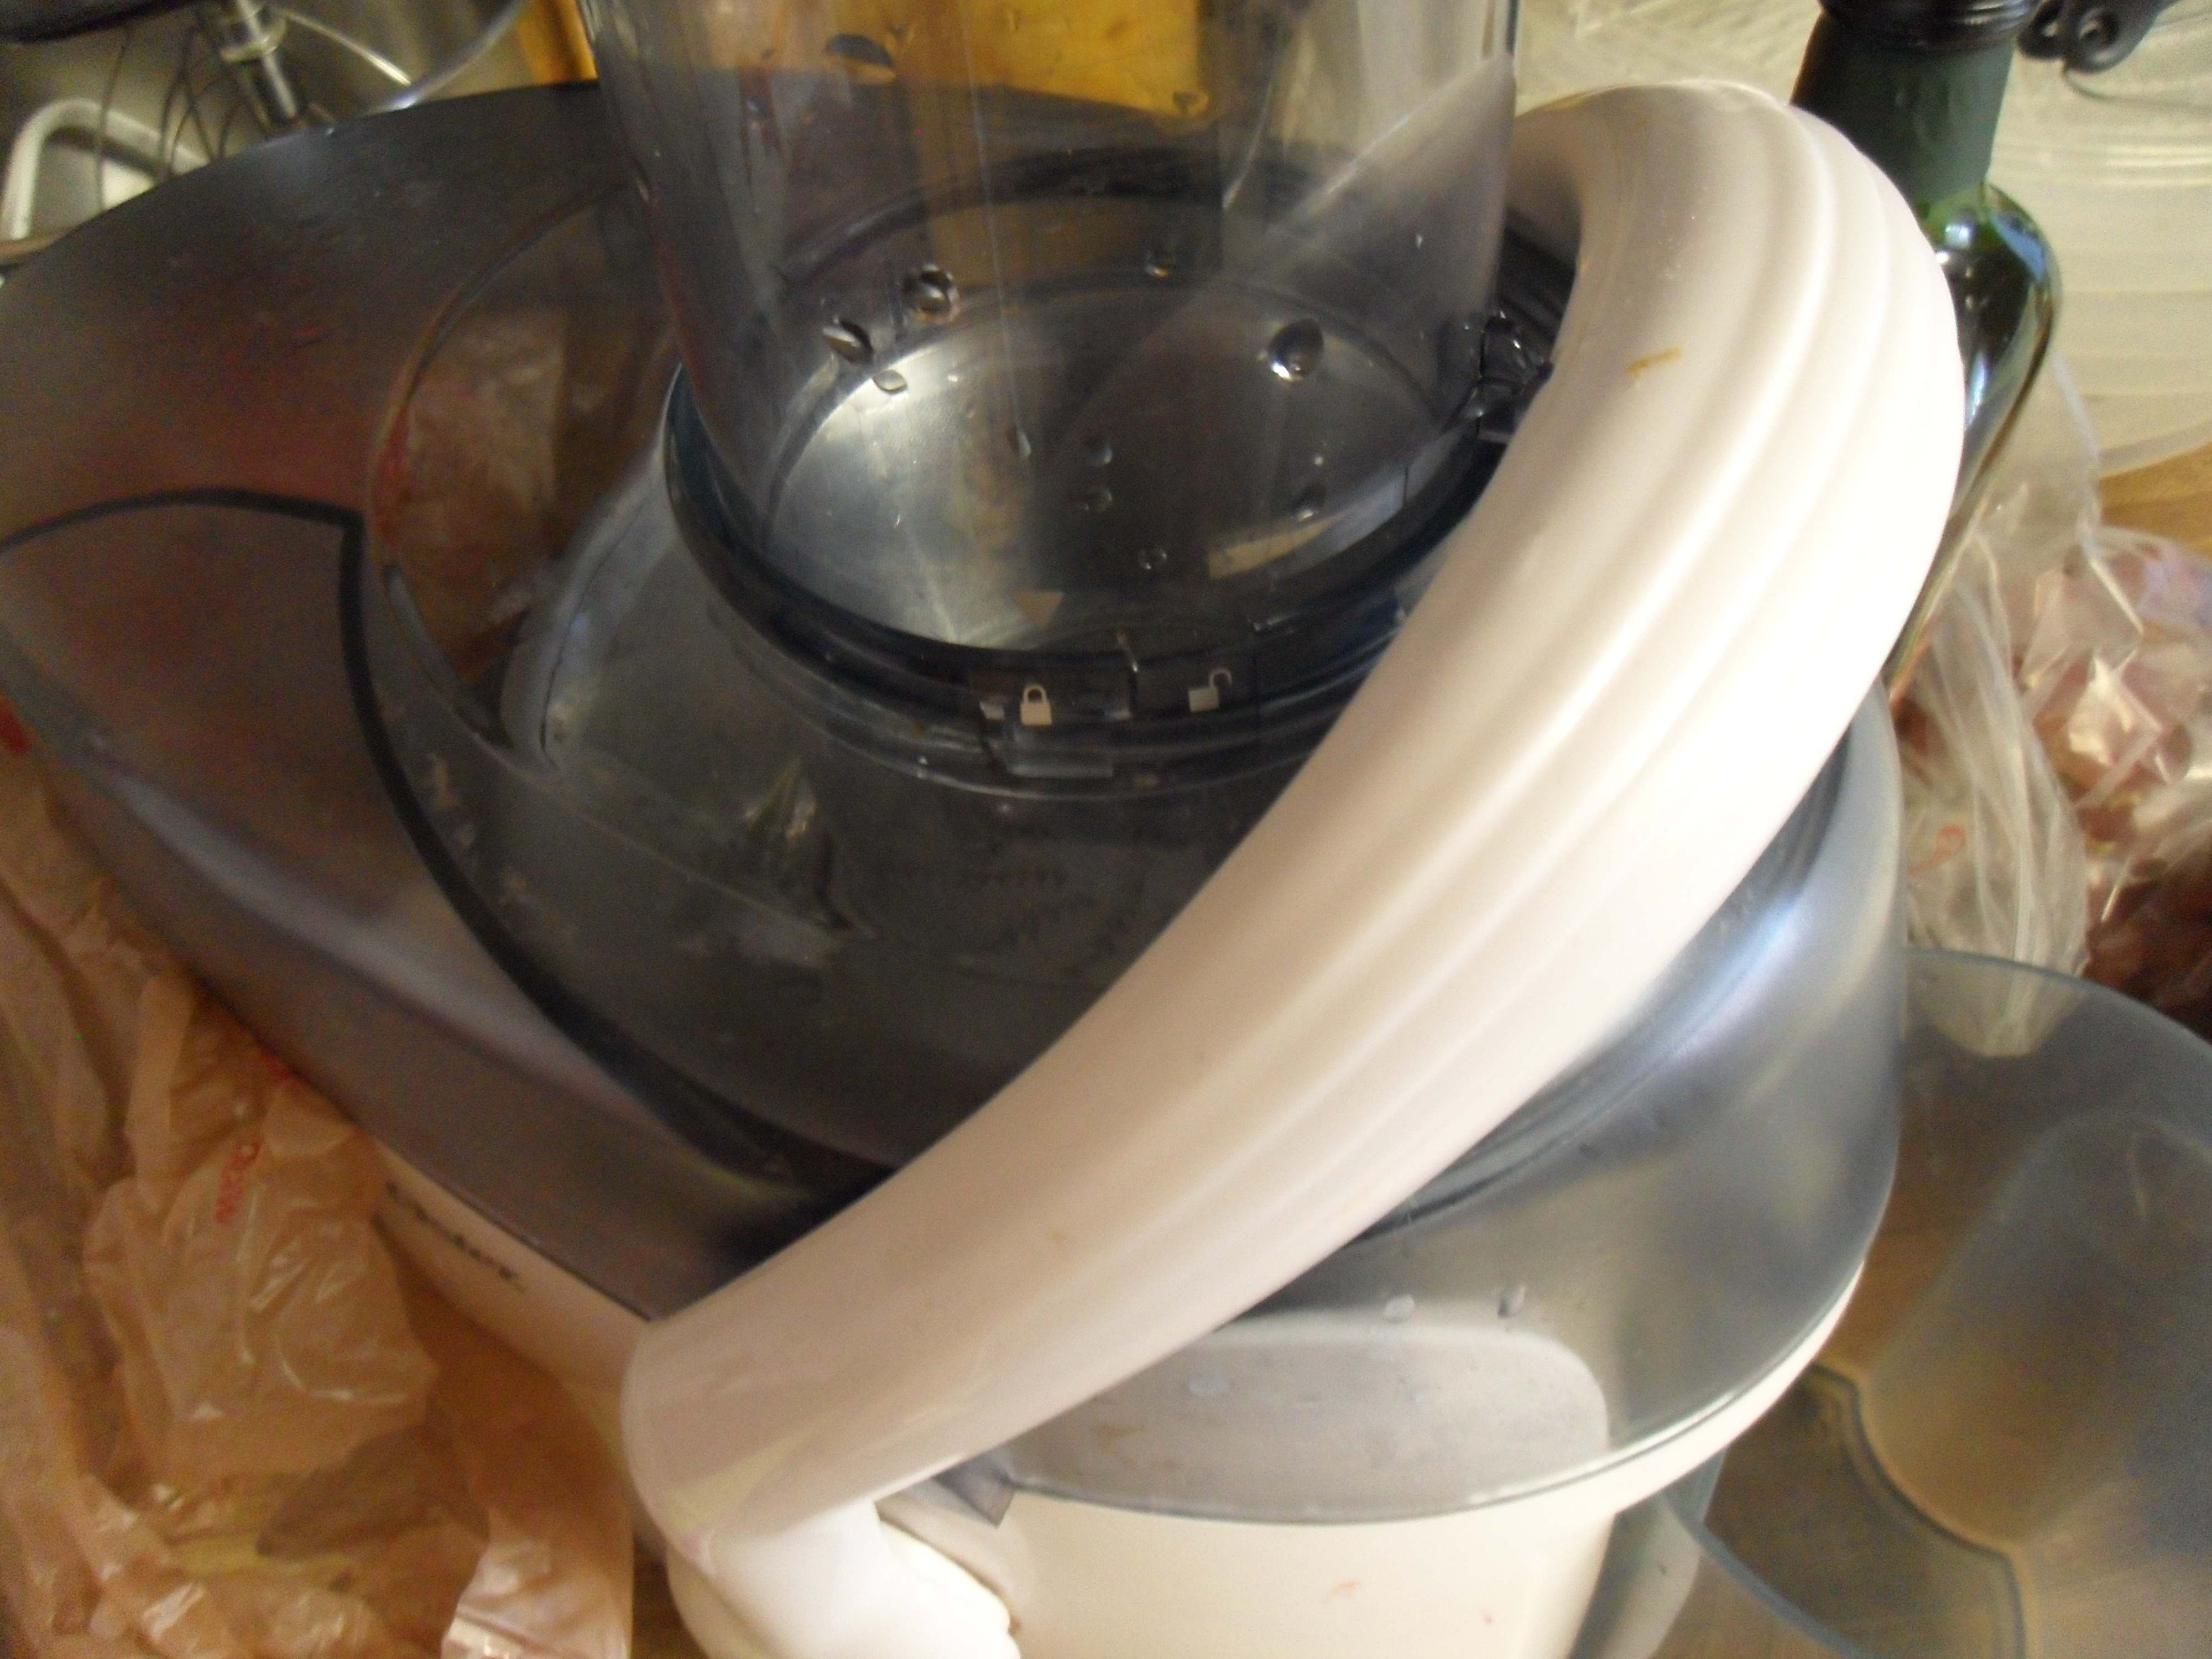
I used my juicer to juice the grapes – but if you do not have a juicer – you can boil the grapes in some water until they are soft and strain them though a colander with some cheesecloth in it. Some people even use a paint strainer from the hardware store. But please remember to wash it really well before using it. Safety!
The process is the same for whatever kind of jelly you want to make. Just substitute the grape juice for whatever kind of juice you like. Apple, plum, or cranberry – the list is endless. Mix and match and come up with your own special creation! The rest of the ingredients will always be the same.
-

- apples

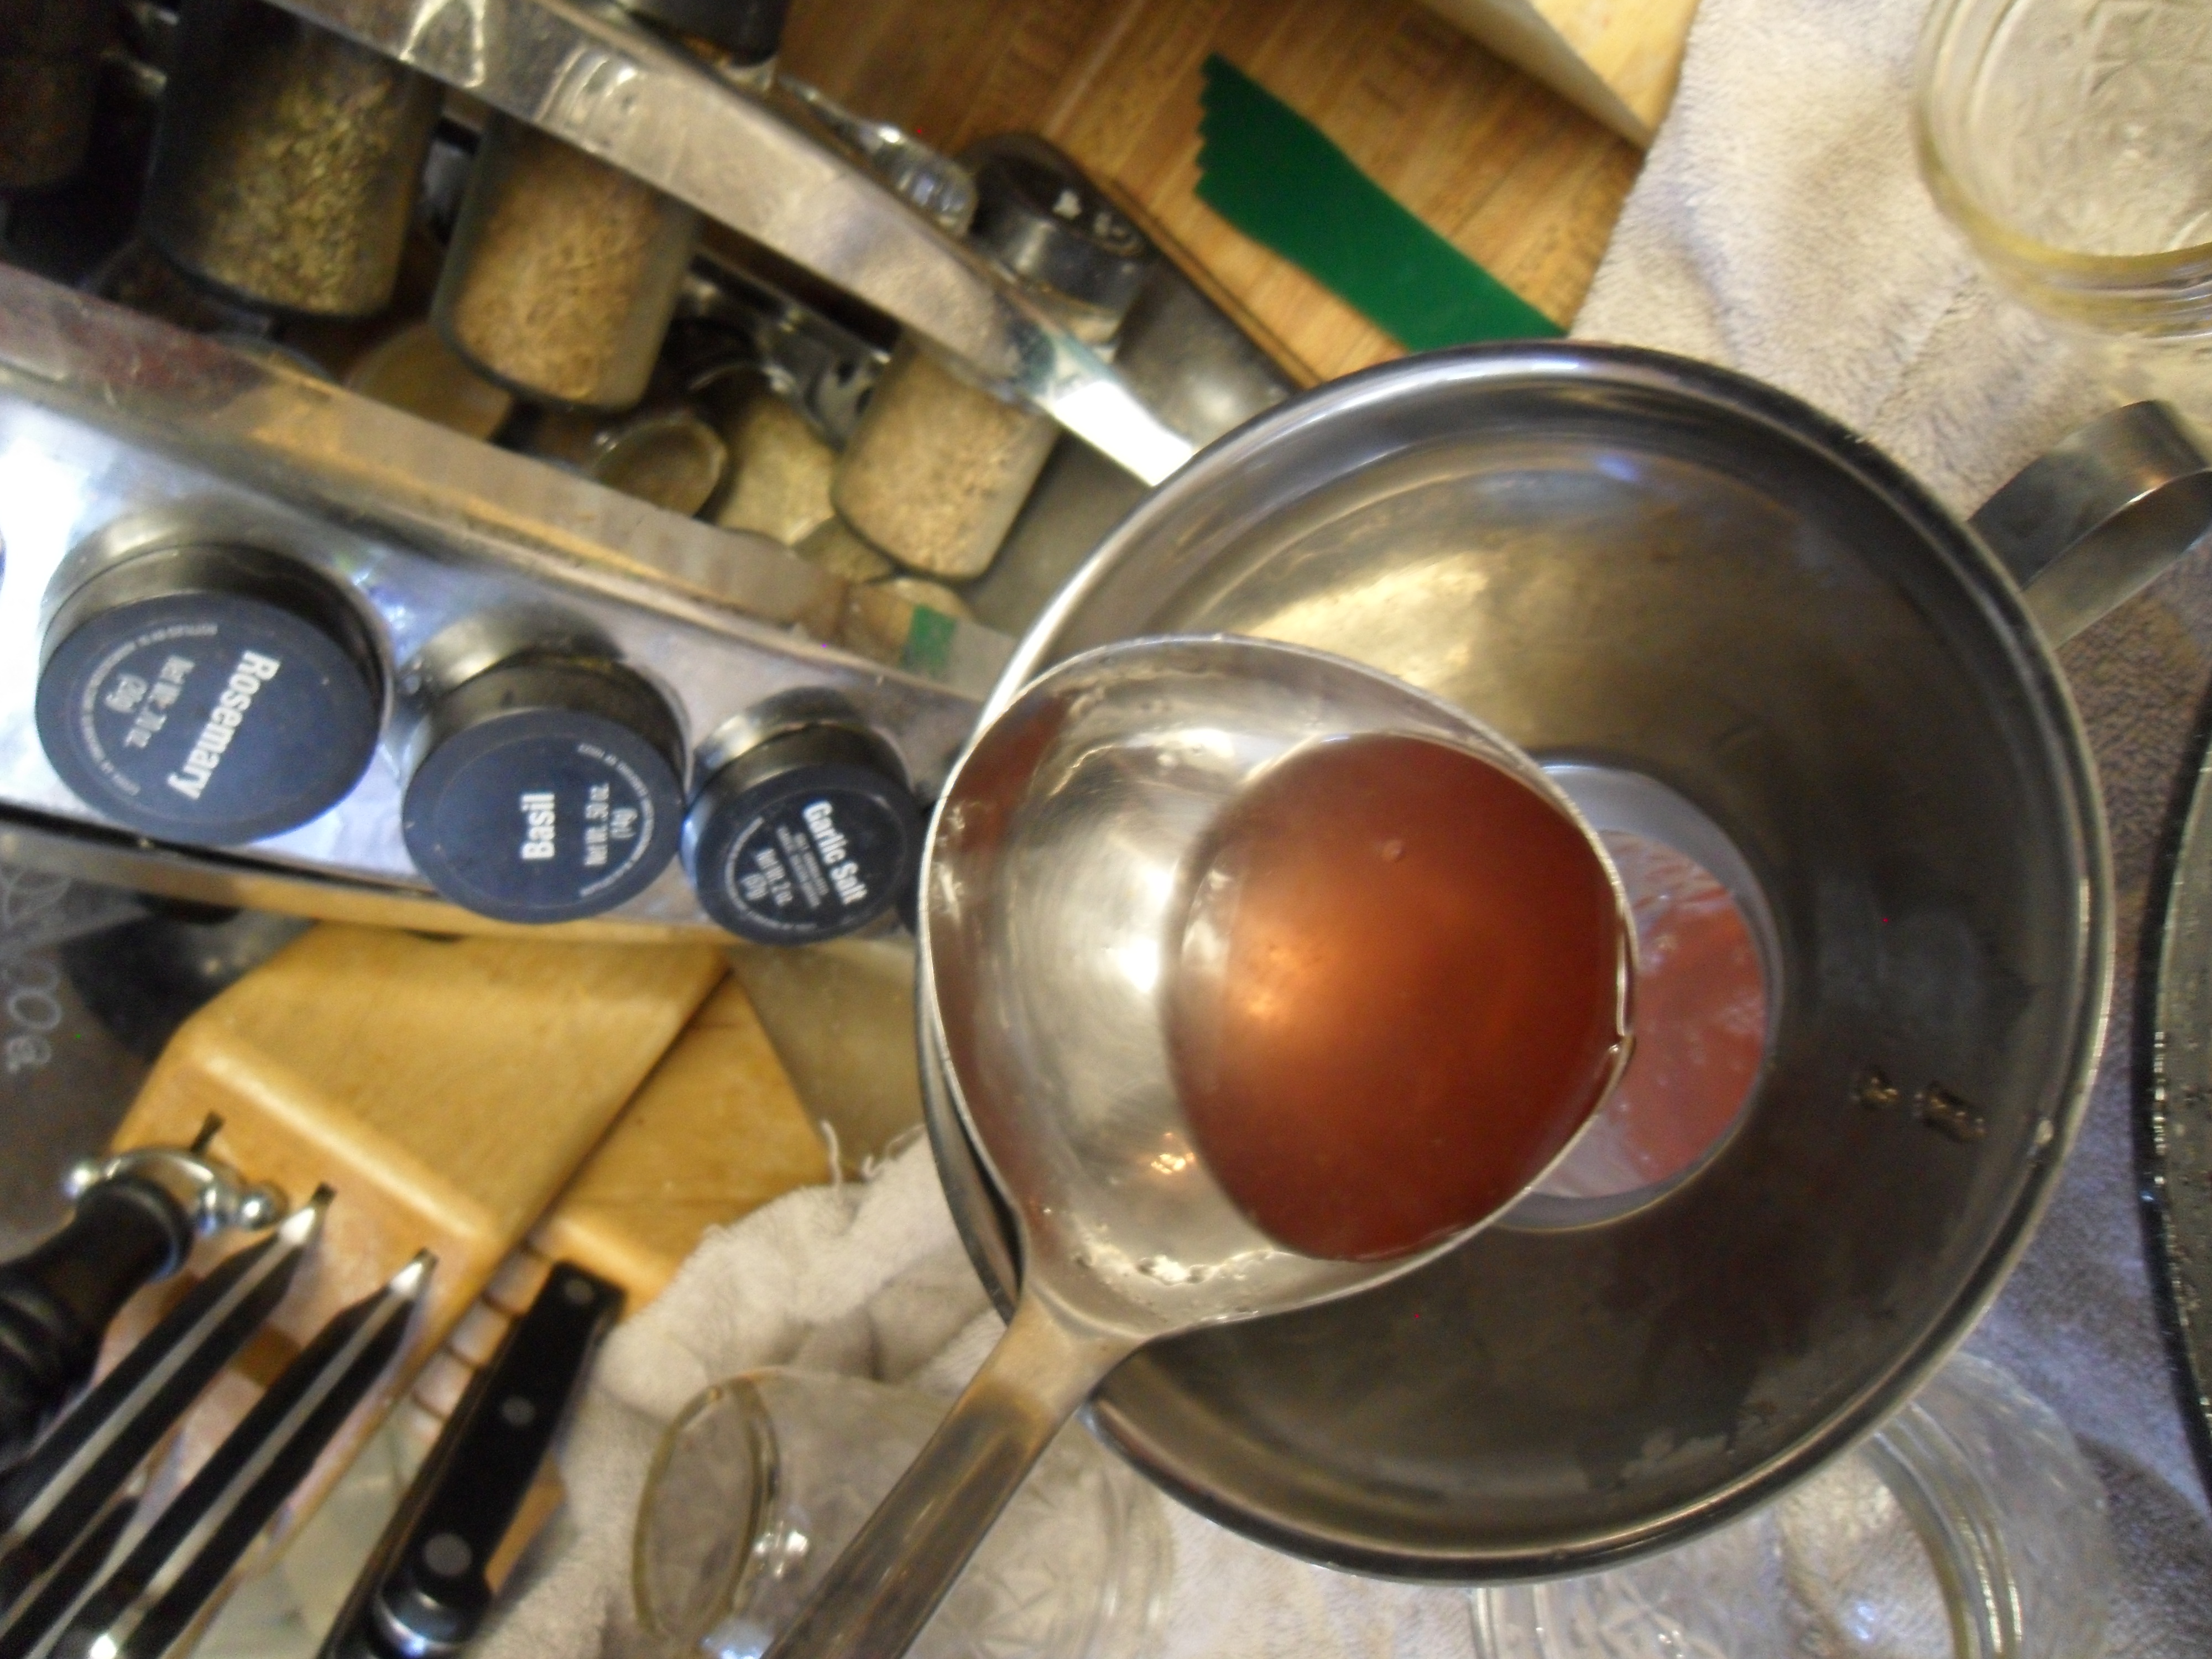
Put the juice, lemon juice, pectin and butter in a big pot and bring to a boil. You want a violent boil which is one that you can’t stir away.
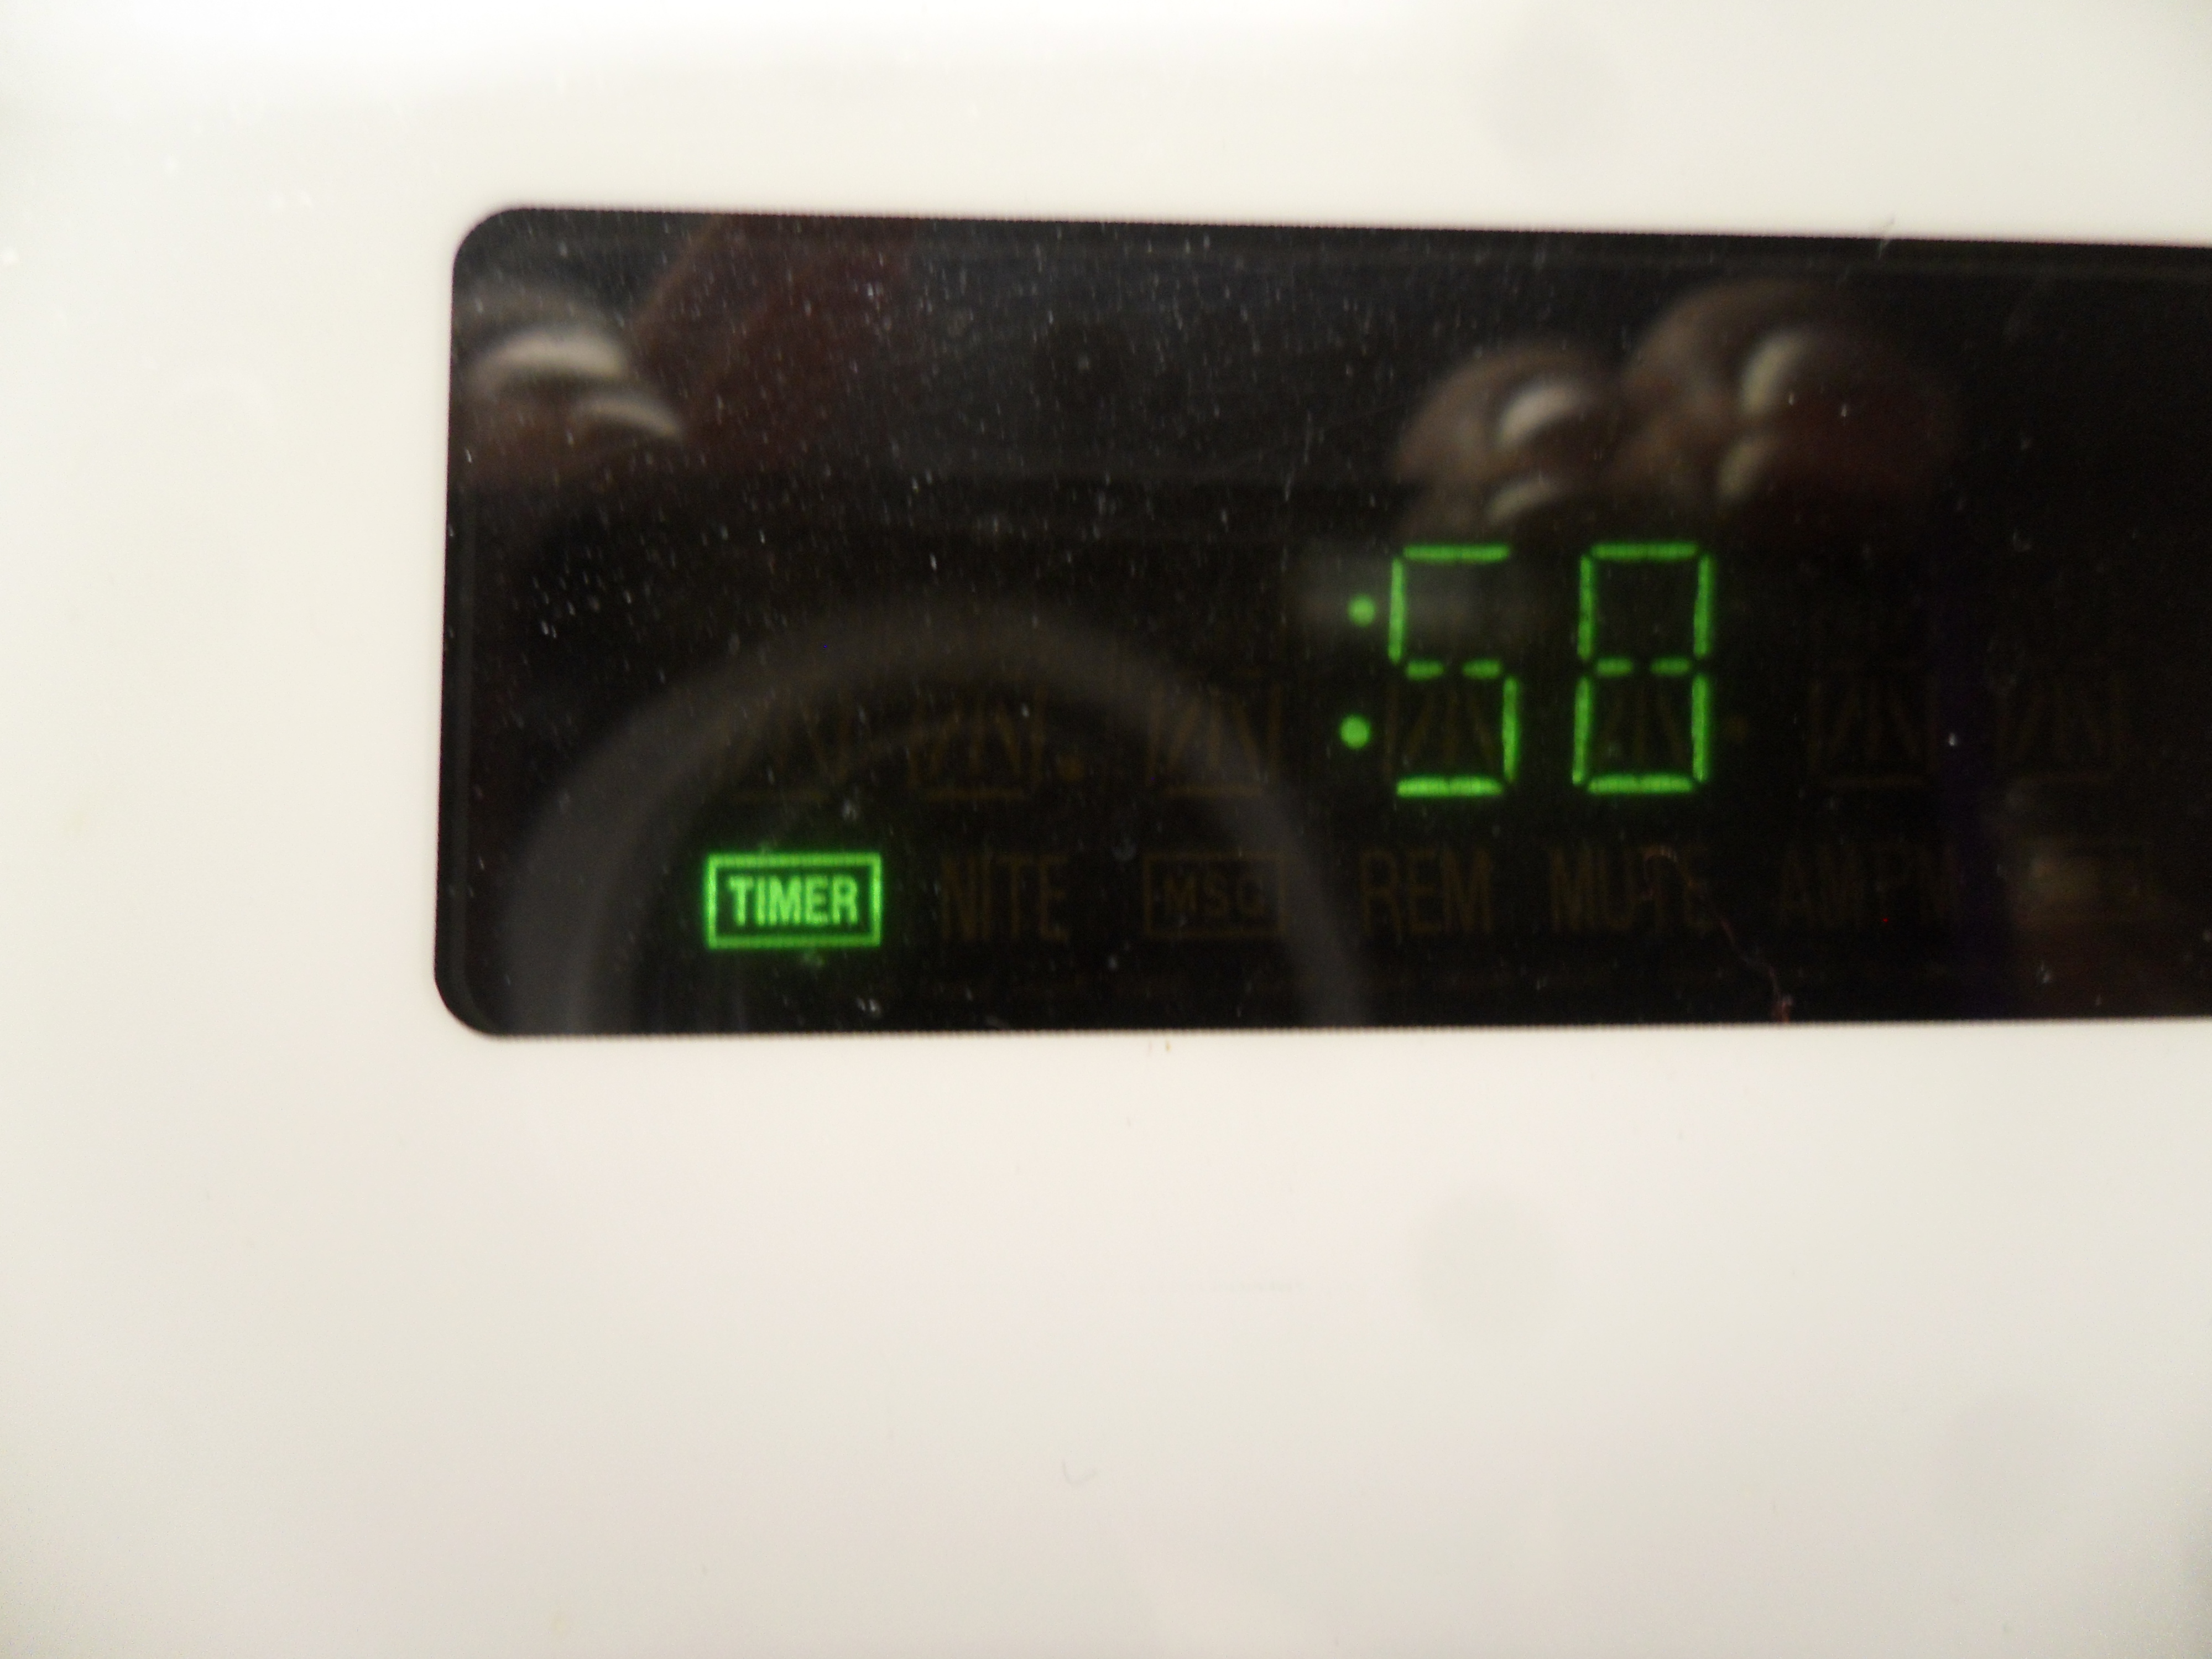
1 minute only!
Pour in all of the sugar at once and stir to incorporate.
Again, bring to a violent boil and boil for 1 minute exactly! Set a timer – seriously!
After the minute is up – turn off the stove and pull the pot off of the heat.
You will notice along the edges of the pot, foam or some type of scum has collected there. Don’t freak out! This is normal! You will want to scrape the foam and other gunk that collects along the edges away. This just looks kind of gross and we want our jelly to be pretty! Use a spoon and clear as much of it away as you can. Remember, the jelly is hot so be careful!
-
- Pour all the sugar in at once
-
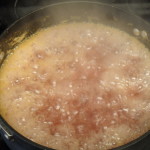
- VIOLENCE!
-

- 1 minute only!
How to put your jelly into jars and process in a water bath
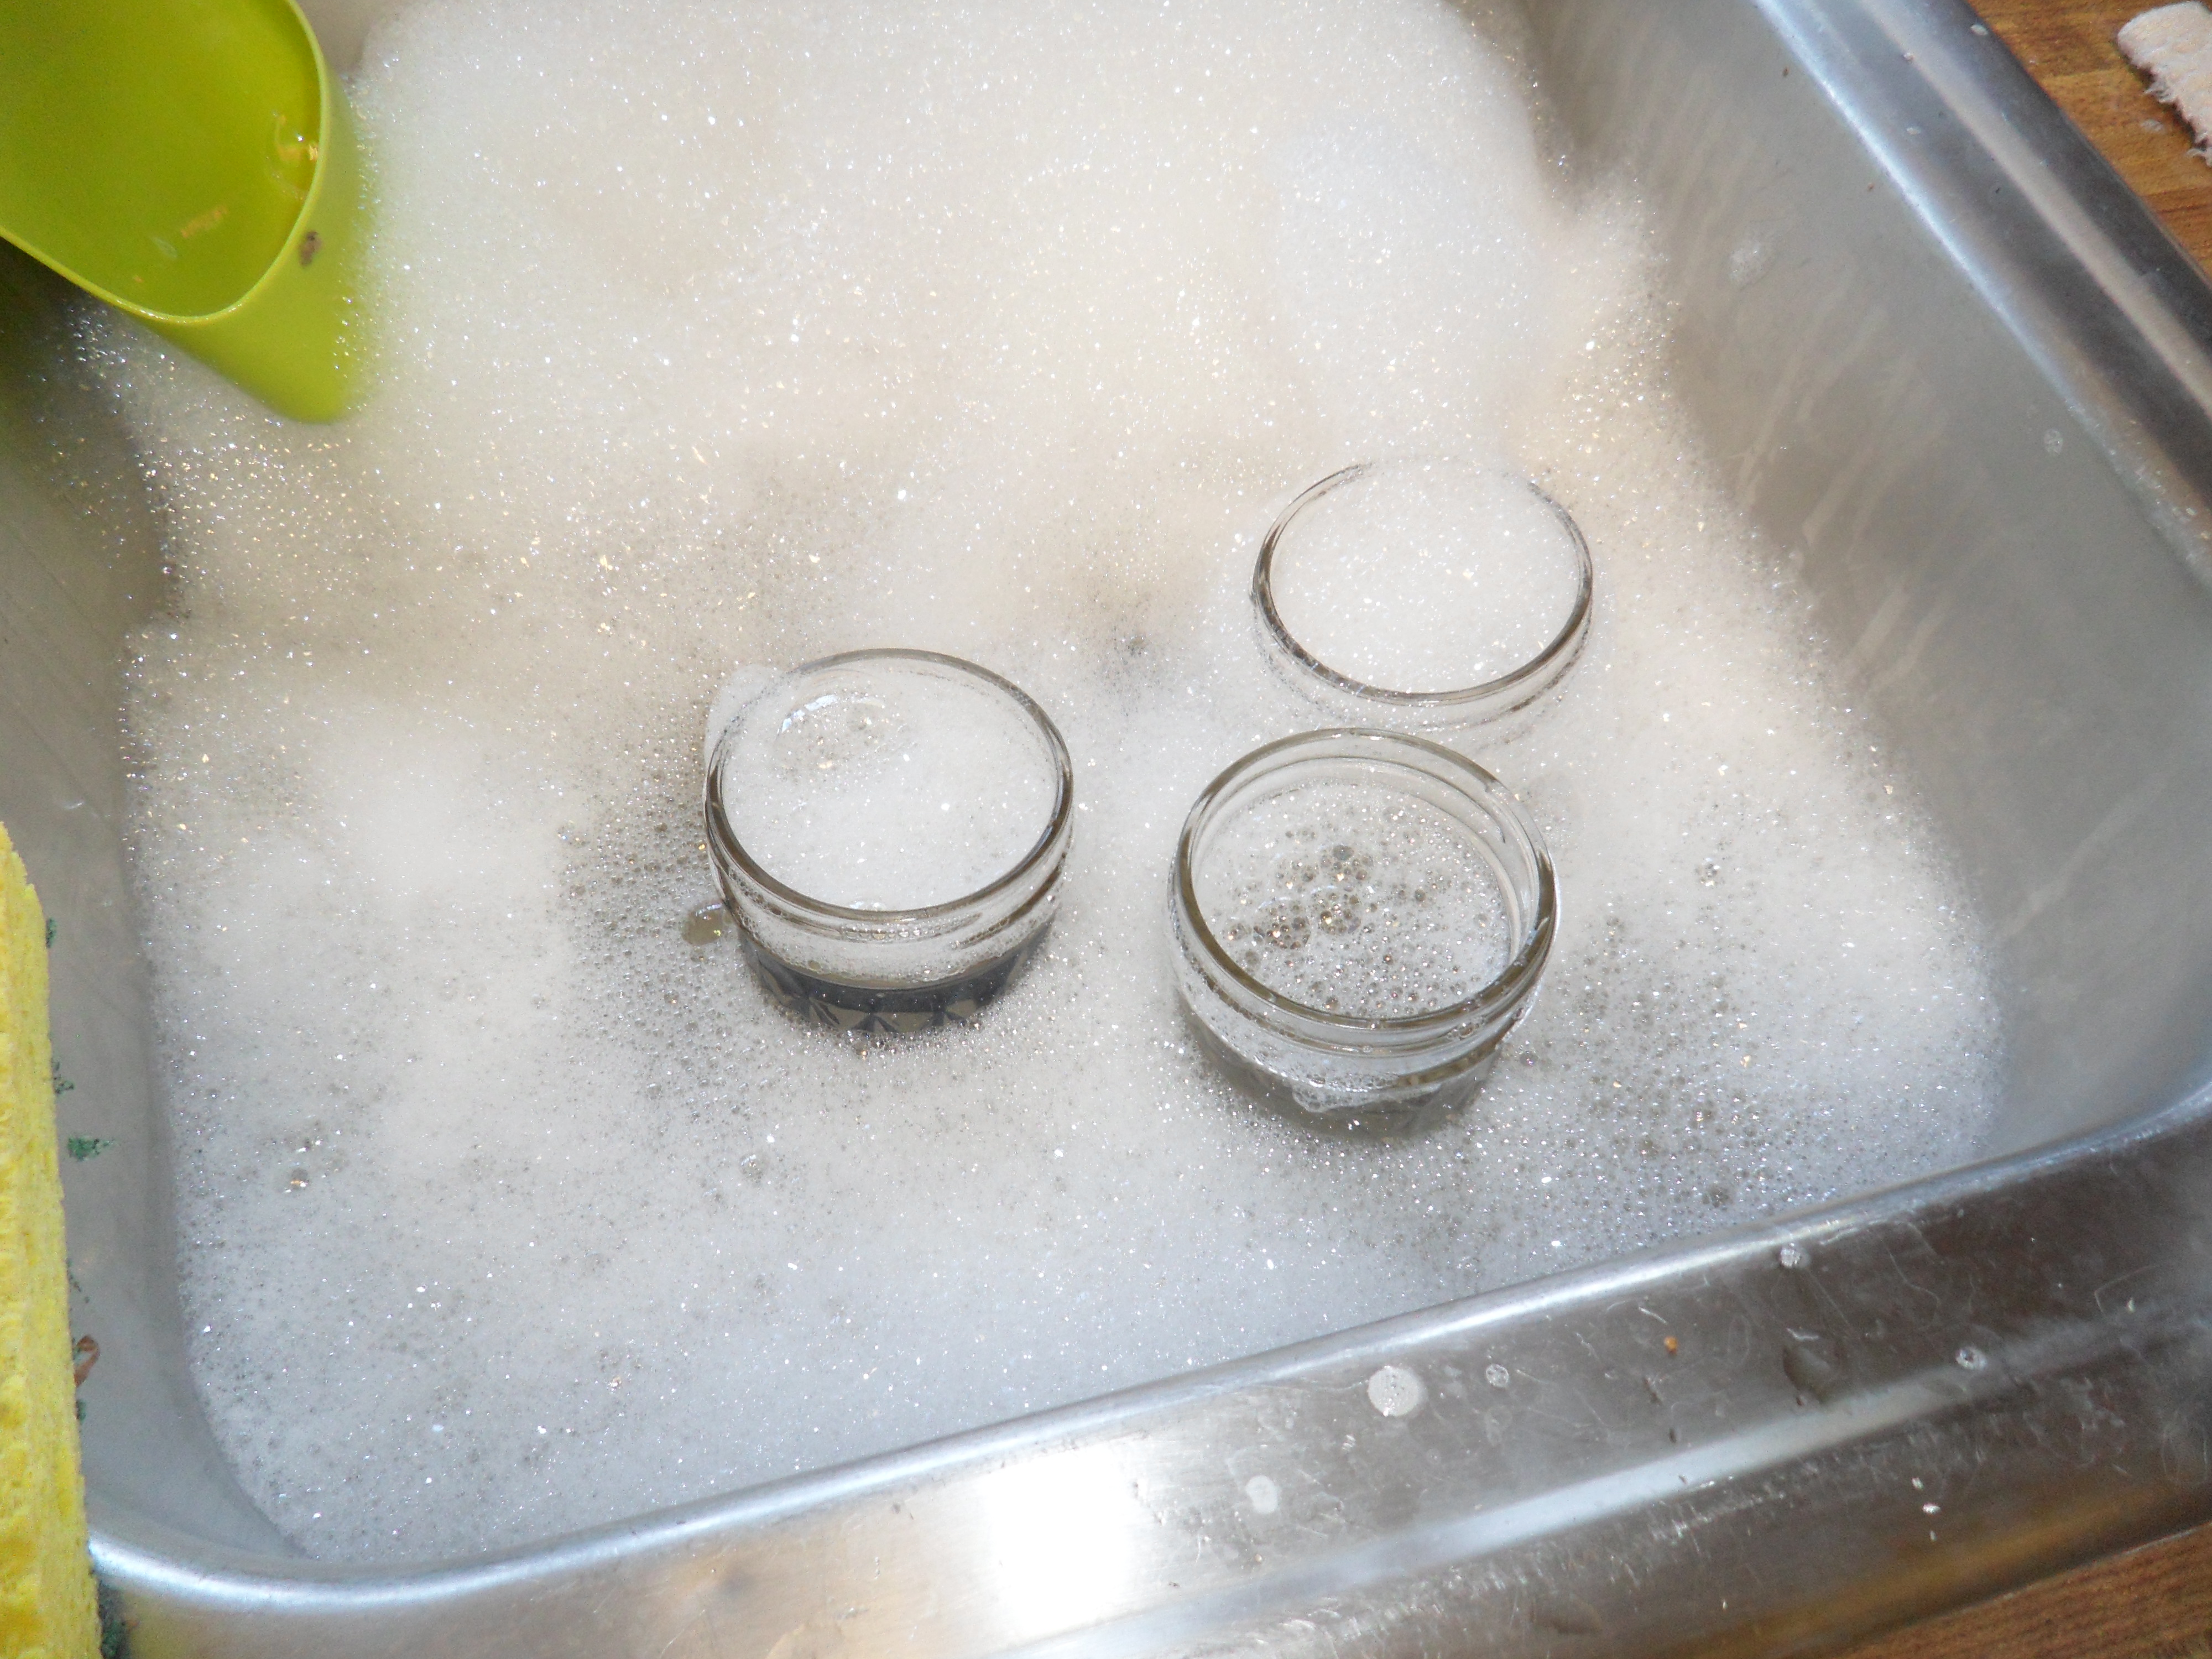 Wash the jars in hot water – you can sterilize your jars but it isn’t necessary. Just be sure to process for 10 minutes in the water bath. If you choose to sterilize your jars, boil them in water for about 5 minutes.
Place the funnel into the jar and spoon the hot jelly into the jars – leaving ¼ inch headspace at the top of the jar. You can use a ladle, measuring cup or spoon. Jelly jars hold 1 cup, pints hold 2 and quarts hold 4 cups – by using a measuring cup, you can ensure each jar holds the same amount. Just be sure to check the headspace on each jar.
Be mindful ofheadspace

Wipe the Rim
Wipe the rim – where the rubber seal will sit on the top of the jar – not the threads. Make sure no jelly has dripped onto the rim that may cause the jar not to seal. There are some canners that keep the rings on while they fill them to keep the rims clean. I personally don’t do this, I just wipe them down with a clean paper towel.
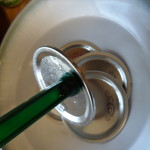
Place the ring on and Screw Lids Down “Fingertip Tight” – Screw the lids down just until you start to feel resistance when you tighten, aka “fingertip tight.” Inevitably, some air bubbles get trapped inside the jars while you’re filling them. If the lids are screwed down too tightly, those air bubbles don’t have a way to escape during the hot water bath and can cause your lids to buckle. Leaving the rings and lids a little loose lets that oxygen escape without incident; the lids will form their seal as the jars cool.
 Tip! Wear your rubber dish gloves to protect your hands. The jars are very hot as you just put the equivalent of boiling hot lava into them. Use a towel or the rubber gloves to protect your hands.
Use your jar tongs to place the jars into the boiling water. If you do not have a canner, you can zip tie some of the rings together to improvise using a large stock pot. You do not want the jars to rest on the bottom of the pan as this causes them to break.
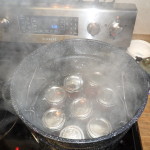
The water in your canner should be boiling at this point. Make sure there is at least 1 inch of water over the jars and process in rapid boiling water for 5 minutes if you sterilized the jars and for 10 minutes if you did not.

These are jar tongs
When the time is up, use your jar tongs to remove from the boiling water. Place them on a towel on the counter. You do not want to place them directly on the counter as the drastic change in temperature could cause the jars to break or shatter. You didn’t spend all this time just to have to clean up a jelly glass explosion and pick glass shards out of your face! Safety!
Leave the jars undisturbed for 24 hours. The jelly will gel as it cools.
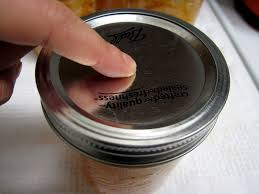 Press on the lids to make sure the jar has sealed. It will not have any give to it. If it makes a popping sound or the lid still has the little button on the top. Refrigerate this and eat it as it did not seal.
Take the rings off as you do not store your pretty jars with the rings. Rings trap moisture and will rust eventually. I think I am safe to say that nobody orders rust with their jelly. So take those off!
There are a lot of documentation that says that it could take a couple of days for jelly to gel. So, be patient. If it’s a little runny, it makes great ice cream syrup! Store your jelly in a cool dark place and enjoy your jelly throughout the year. It also makes a great gift! Who doesn’t like a homemade gift!

Post below if you try to make jelly, I’d love to hear your story!
Special thank you to Peculiar Kitty for the name!
