
Canning 101, let’s get started.
 Out of the corner of your eye, you see your mason jars sitting in the cabinet. A-ha! You realize that canning is a wonderful way to preserve your food while it’s in season so you can enjoy it after your garden is long dead and the food becomes horribly expensive at the market because it is out of season.
Either method of canning heats the food sufficiently, killing off any bad microorganisms and the vacuum seal prevents any air entering the jar that could cause bacteria to grow, spoiling your food. Canning stops time, locking in that freshness for months, if not years.
Why do I can?
There are many reasons why I choose to put food in jars and leave them on the shelf
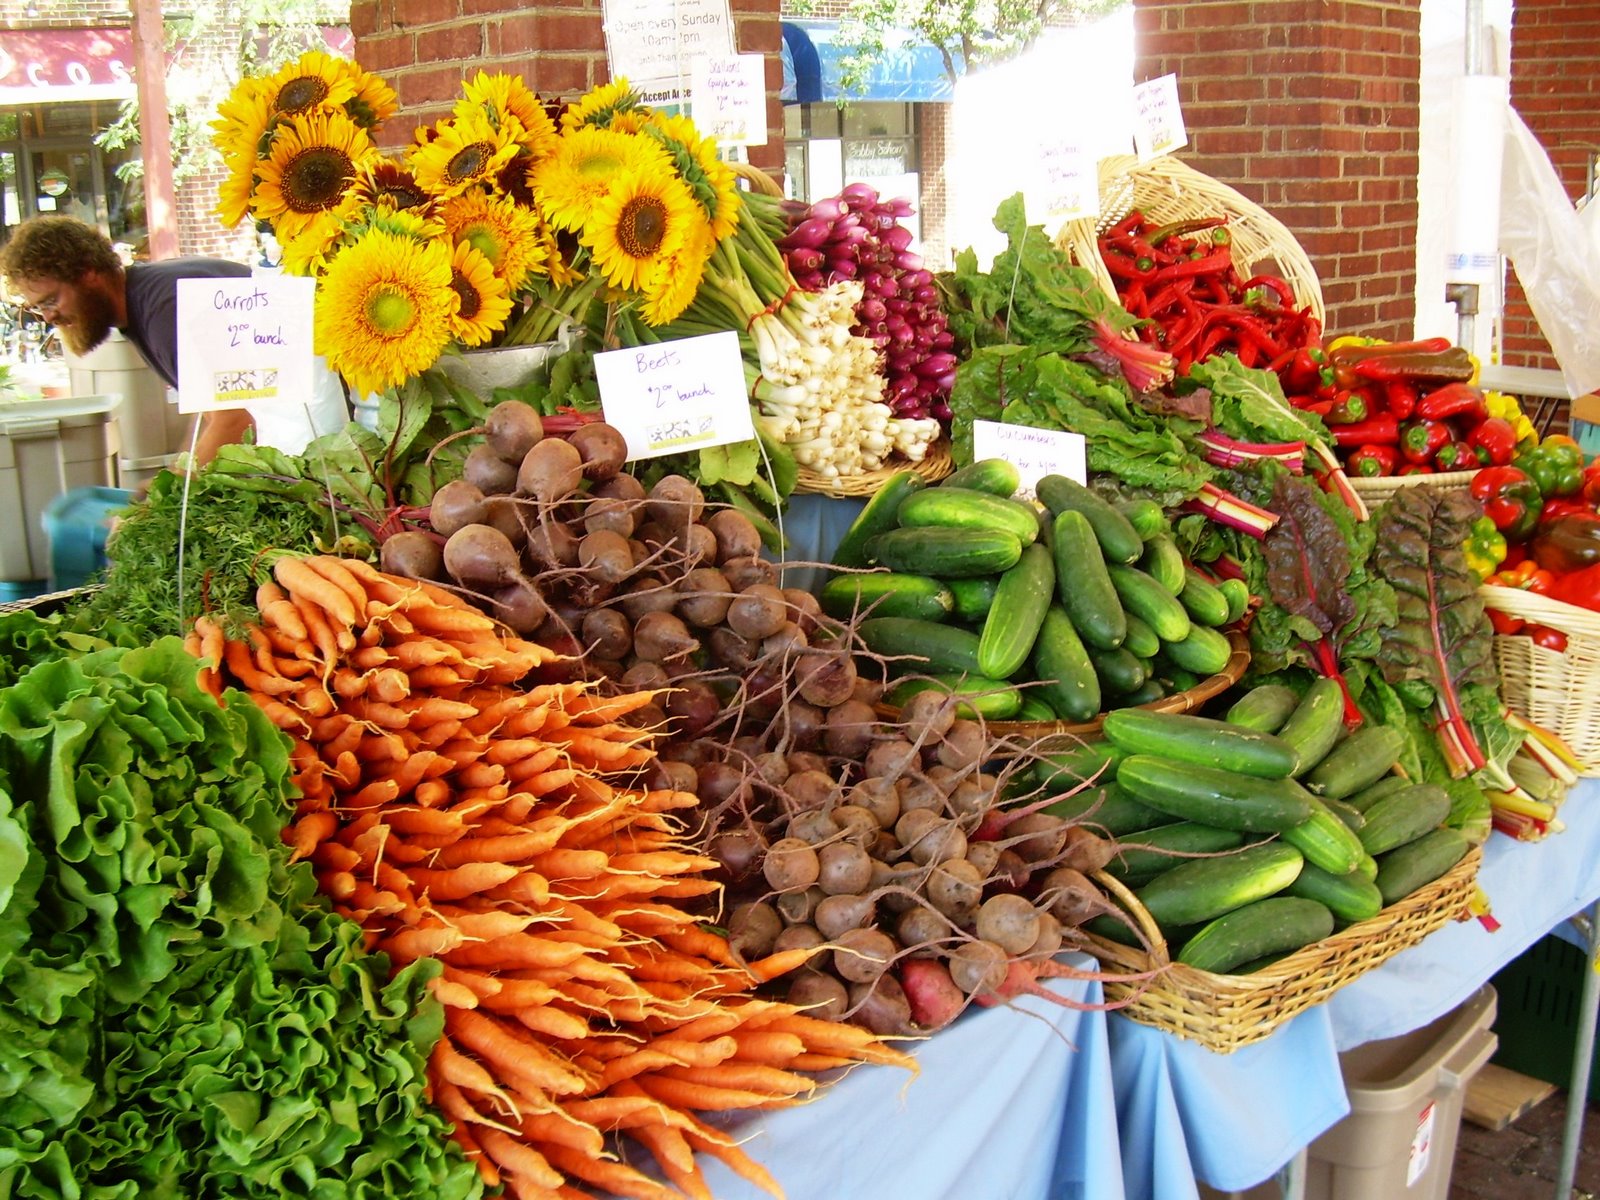
 It saves money. By growing my own food or taking advantage of sales at the market, food in jars lasts for months. So I can be eating my $00.99/lb. chicken when it’s twice or triple that in the stores at the moment.

- It cuts down on waste. For anyone that has a garden, you know you can’t possible eat all that you produce before it goes bad. Why waste it when you can preserve it to eat later.
- Cuts down on freezer space. Let’s face it, freezers do have a limit on how much you can shove in them. Also, canned food does not require refrigeration and most canned food has a shelf life of 5 years or more.
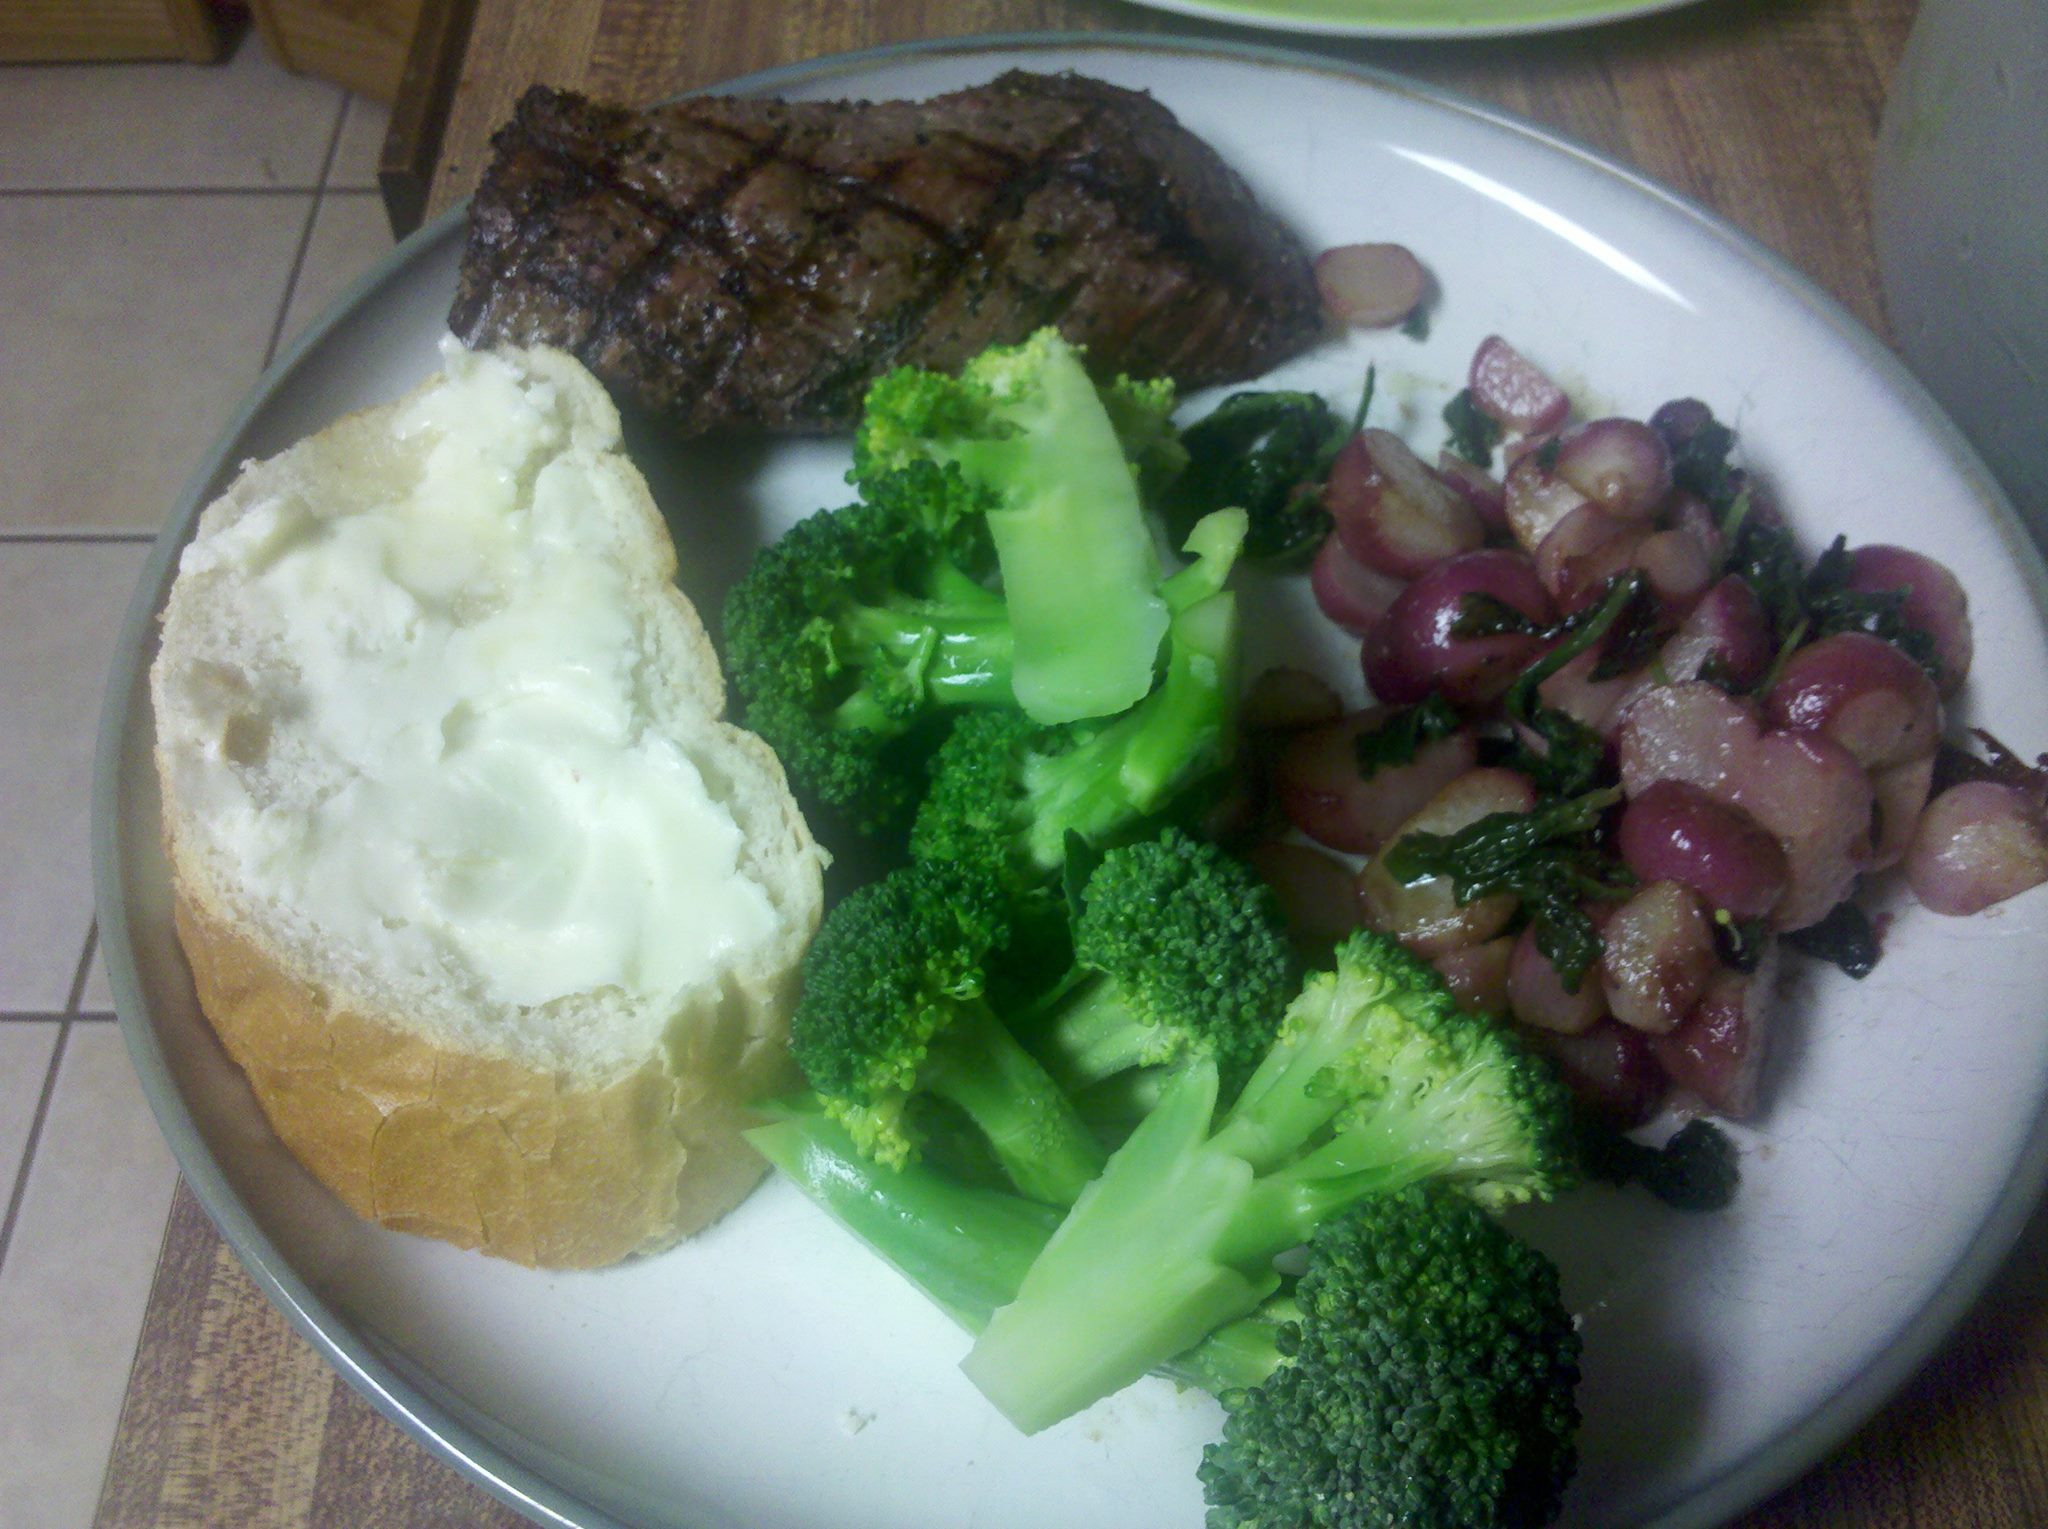
- Tastes wonderful! Contrary to popular belief, home canned food is delicious! It is
 much better quality than canned food at the market. Food that is processed at its peak ripeness maintains its flavor and canned meat has that slow-roasted yummy goodness.
 - Easy dinners. Everyone has those days where they just don’t want to cook. Rather than going down to the local fast food place, pop open a couple of jars and prepare a tasty meal that is good for your family in a few minutes.
- It’s good for you! Store-bought processed food contains more chemicals that actual food. When you can, you know exactly what is going into your food and you know that you are feeding your family quality food instead of chemicals.
But what do I need to start?
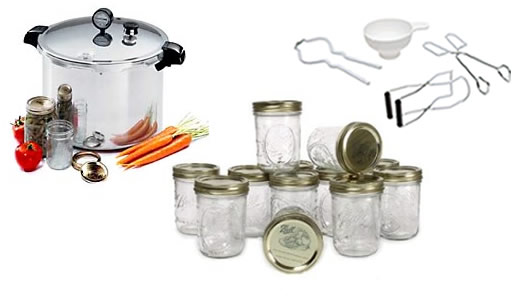
That is a great question, most people get started with water bathing. This is the method used for pickled vegetables and fruits. If you want to dive right into canning meats or non-pickled vegetables, then you will need specialized equipment. So here is a list of what you will need for both methods.
- Canning jars and lids– most cases of jars sold in stores come with rings and seals attached to the jars. You cannot reuse the lids so if you plan on reusing your jars, you will need to buy more lids. The rings can be used over and over.
- Wide mouth funnel. This handy tool makes filling jars easy and less messy.
- Lid wand – This tool has a magnetic end so you can lift the lids out of the hot water and not burn yourself.
- Ladle – helps transfer the liquids and food out of the pot into the jars.
- Large pot – for water bathing or cooking food before canning. ( i.e. hot packing)
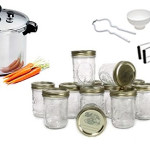 Tongs or jar lifters – This tool helps get the jars out of the hot water so you don’t burn yourself.
- Clean towels – you should never put your hot jars on a cold counter. This could cause them to shatter, always place them on a kitchen towel. Also, with canning you will make a mess, so have extra towels around because you will need them.
- Pressure canner – you will need this if you want to pressure can. Remember a pressure canner is not a pressure cooker. Pressure canners are specialized to include a gauge so you can monitor the pressure inside the pot, which is necessary in canning to ensure the proper pressure is maintained.
 Patience and a positive attitude – It might seem disheartening looking at 40 pounds of potatoes and saying “I’ll never get through this!” You will! Grab a friend or put on a movie and get to work – it will go by faster than it seems and think of the sense of accomplishment you will have when you look at all of your finished jars! You can do this!

Let’s get started!
You have all of your equipment gathered, washed and cleaned.
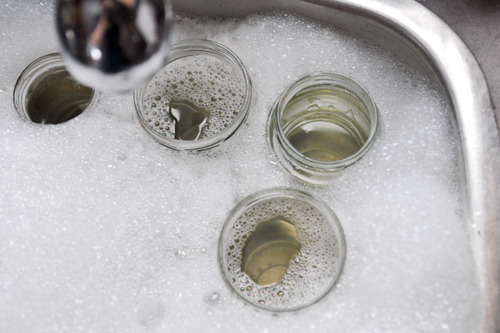
- Wash and sterilize your jars.
- Wash all of your jars and lids in hot soapy water. Sterilize your jars if needed in a boiling water bath for 10 minutes. Please be sure to read your recipe as you may not need to sterilize your jars. For example, you need to sterilize
 your jars for water bathing but not for pressure canning. Regardless if you sterilize your jars or not, put the lids in hot water, not boiling so the seal can become soft.
- Wash all of your jars and lids in hot soapy water. Sterilize your jars if needed in a boiling water bath for 10 minutes. Please be sure to read your recipe as you may not need to sterilize your jars. For example, you need to sterilize
- Prepare your food
- Remember, it is always best to prepare your food as soon as you can after harvesting or buying. Fruits and vegetables loose nutritional value the longer it sits. Also, who wants to preserve old and worn our food? So get to canning as soon as you can so that your food is always tasty and good for you.
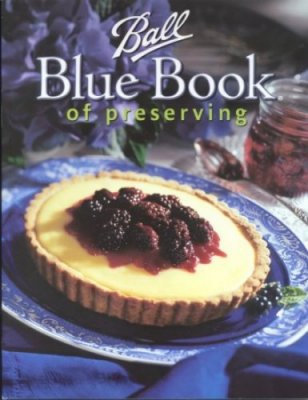
 Follow a tested recipe. Consult the Ball Blue Canning book or tested recipes and make sure to follow them. Process times vary by the type of food you are canning and they are very important to ensure all of the bacteria are killed and your jars seal properly.
- Fill your jars
 When filling your jars, it is important to learn about “headspace.” Headspace is the amount of space you leave in the jar between the top of the jar and the top of your food. The recipe will tell you how much headspace is needed. When food is heated, it expands and contracts and the headspace will allow the food to do this without ruining your seal.
- Remove bubbles – run a non-metallic spatula or chopstick along the inside if the jar to remove bubbles that may be trapped inside the jar. Leaving air bubbles inside the jar may prevent it from sealing. Do not forget to do this.
- Wipe the rims
- This step is crucial if you want your jars to seal. I do not mean the threads where the ring screws onto, I mean the very top of the jar. The part that the lid will sit on.
- Put the lid on
- After wiping the tops of the jars, use your lid lifter to lift the lids out of the hot water they have been sitting in, and place on top of your jars. Place the ring over the lid and screw it onto the jar, finger tight. If you tighten your rings on too tightly, air will not be able to escape and your jars will not seal.
- Process your jars according to your recipe and canning method.
- When your processing time is up, carefully lift your jars out of the canner and onto a towel. Please do not place your hot jars on a cool countertop or they may shatter. Allow them to sit, undisturbed, for 24 hours. While you may be tempted to pick them up and “ooooh” and “ahhhhh” over your new creation, resist the temptation and some jars take longer to seal and you may ruin them. After a while, you will hear the glorious sound of the “pings!” as the lids seal. This is the sound of TRIUMPH! You have now successfully canned something!
- Storage
- Take the rings off and check your seals. The lids should not make a popping sounds when you press on them and they should not come off if you slowly lift the jar by the lid. If they have not sealed, reprocess them or put them in the fridge and eat within a week.
- Wash your jars in hot soapy water to remove any food particles which may have adhered to the jar during the canning process.
- Label the jars with the contents and the date.
- Store in a dry, preferable dark cool place. Place the jars back in the box they came in to protect them from like and being jostled around too much.
- Re-check your seals after about 24 hours and remember to rotate your stock. Older jars in front, newer ones in the back.

There you have it, the basics of how to start canning. Remember to enjoy your jars of food with family and loved ones. They make great gifts and easy meals for rainy days. The kinds of food you can put in jars is almost limitless, soups, broths, meats, seafood, vegetables, fruit and even things like milk and cheese! You never know when you might need to have some extra food on hand, canning is a fantastic way to ensure your family will have food whenever the need may arise.
